随着在线攻击和网络犯罪的增加,迫切需要为不同的在线服务和帐户安全地生成、存储和管理极其复杂的密码。您可以注册并在几秒钟内开始使用数十种 SaaS 解决方案。对于像我这样的一些用户来说,首选使用自托管应用程序,并且可以使用 Vaultwarden 等工具。
Vaultwarden 是一款免费使用的开源密码管理解决方案,其开发灵感来自 Bitwarden。 Vaultwarden 允许您以安全的方式存储、生成和管理您的密码。它支持多重身份验证、端到端数据加密、多个浏览器扩展以及易于使用的移动应用程序。 Vaultwarden 致力于秉承开源精神,确保软件应用程序永远免费使用。 Vaultwarden 非常适合各种用例,适合个人、家庭或小型组织。
如何在 Linux 上安装 Vaultwarden
使用 Vaultwarden 最简单的方法是在容器中运行它。容器使应用程序具有高度可移植性,这意味着您可以在不同环境中一致地运行 Vaultwarden。在本文中,我们将在 Linux 计算机上使用 Docker 容器引擎。 Windows和macOS用户可以使用类似的docker环境工具,例如Portainer。
在此设置中,我们使用域名 passwords.techwizpro.com 和 A 记录 49.13.153.179。

从安装 Docker Engine 开始。
- 如何在 Linux 系统上安装 Docker 引擎
我的 Ubuntu 系统上有 Docker 引擎版本25。
$ docker --version
Docker version 25.0.3, build 4debf41
Compose 插件版本为 2.x
$ docker compose version
Docker Compose version v2.24.5
创建一个用于存储 Vaultwarden 数据的目录。
mkdir ~/vaultwarden && cd ~/vaultwarden 创建新的撰写文件。
vim docker-compose.yml将 DOMAIN 值修改为您的 FQDN。
version: '3'
services:
  vaultwarden:
    image: vaultwarden/server:latest
    container_name: vaultwarden
    restart: always
    environment:
      DOMAIN: "https://passwords.techwizpro.com"
    volumes:
      - ./vw_data:/data
要启动容器,请运行以下命令。
$ docker compose up -d
[+] Running 7/7
 ✔ vaultwarden 6 layers [⣿⣿⣿⣿⣿⣿]      0B/0B      Pulled                                                                                                                                          6.9s
   ✔ c57ee5000d61 Pull complete                                                                                                                                                                  0.7s
   ✔ a15201bfb52f Pull complete                                                                                                                                                                  0.6s
   ✔ b58597132f48 Pull complete                                                                                                                                                                  0.4s
   ✔ b3ef181c63dc Pull complete                                                                                                                                                                  0.8s
   ✔ d9668859131d Pull complete                                                                                                                                                                  1.2s
   ✔ a5e23e066860 Pull complete                                                                                                                                                                  1.3s
[+] Running 1/2
 ⠦ Network vaultwarden_default  Created                                                                                                                                                          0.6s
 ✔ Container vaultwarden        Started                                                                                                                                                          0.5s
该服务将在主机端口 8080 上可用。我们将使用 Nginx 将域上的请求代理到此端口。
$ docker compose ps
NAME          IMAGE                       COMMAND       SERVICE       CREATED         STATUS                            PORTS
vaultwarden   vaultwarden/server:latest   "/start.sh"   vaultwarden   6 seconds ago   Up 5 seconds (health: starting)   3012/tcp, 0.0.0.0:8080->80/tcp, :::8080->80/tcp
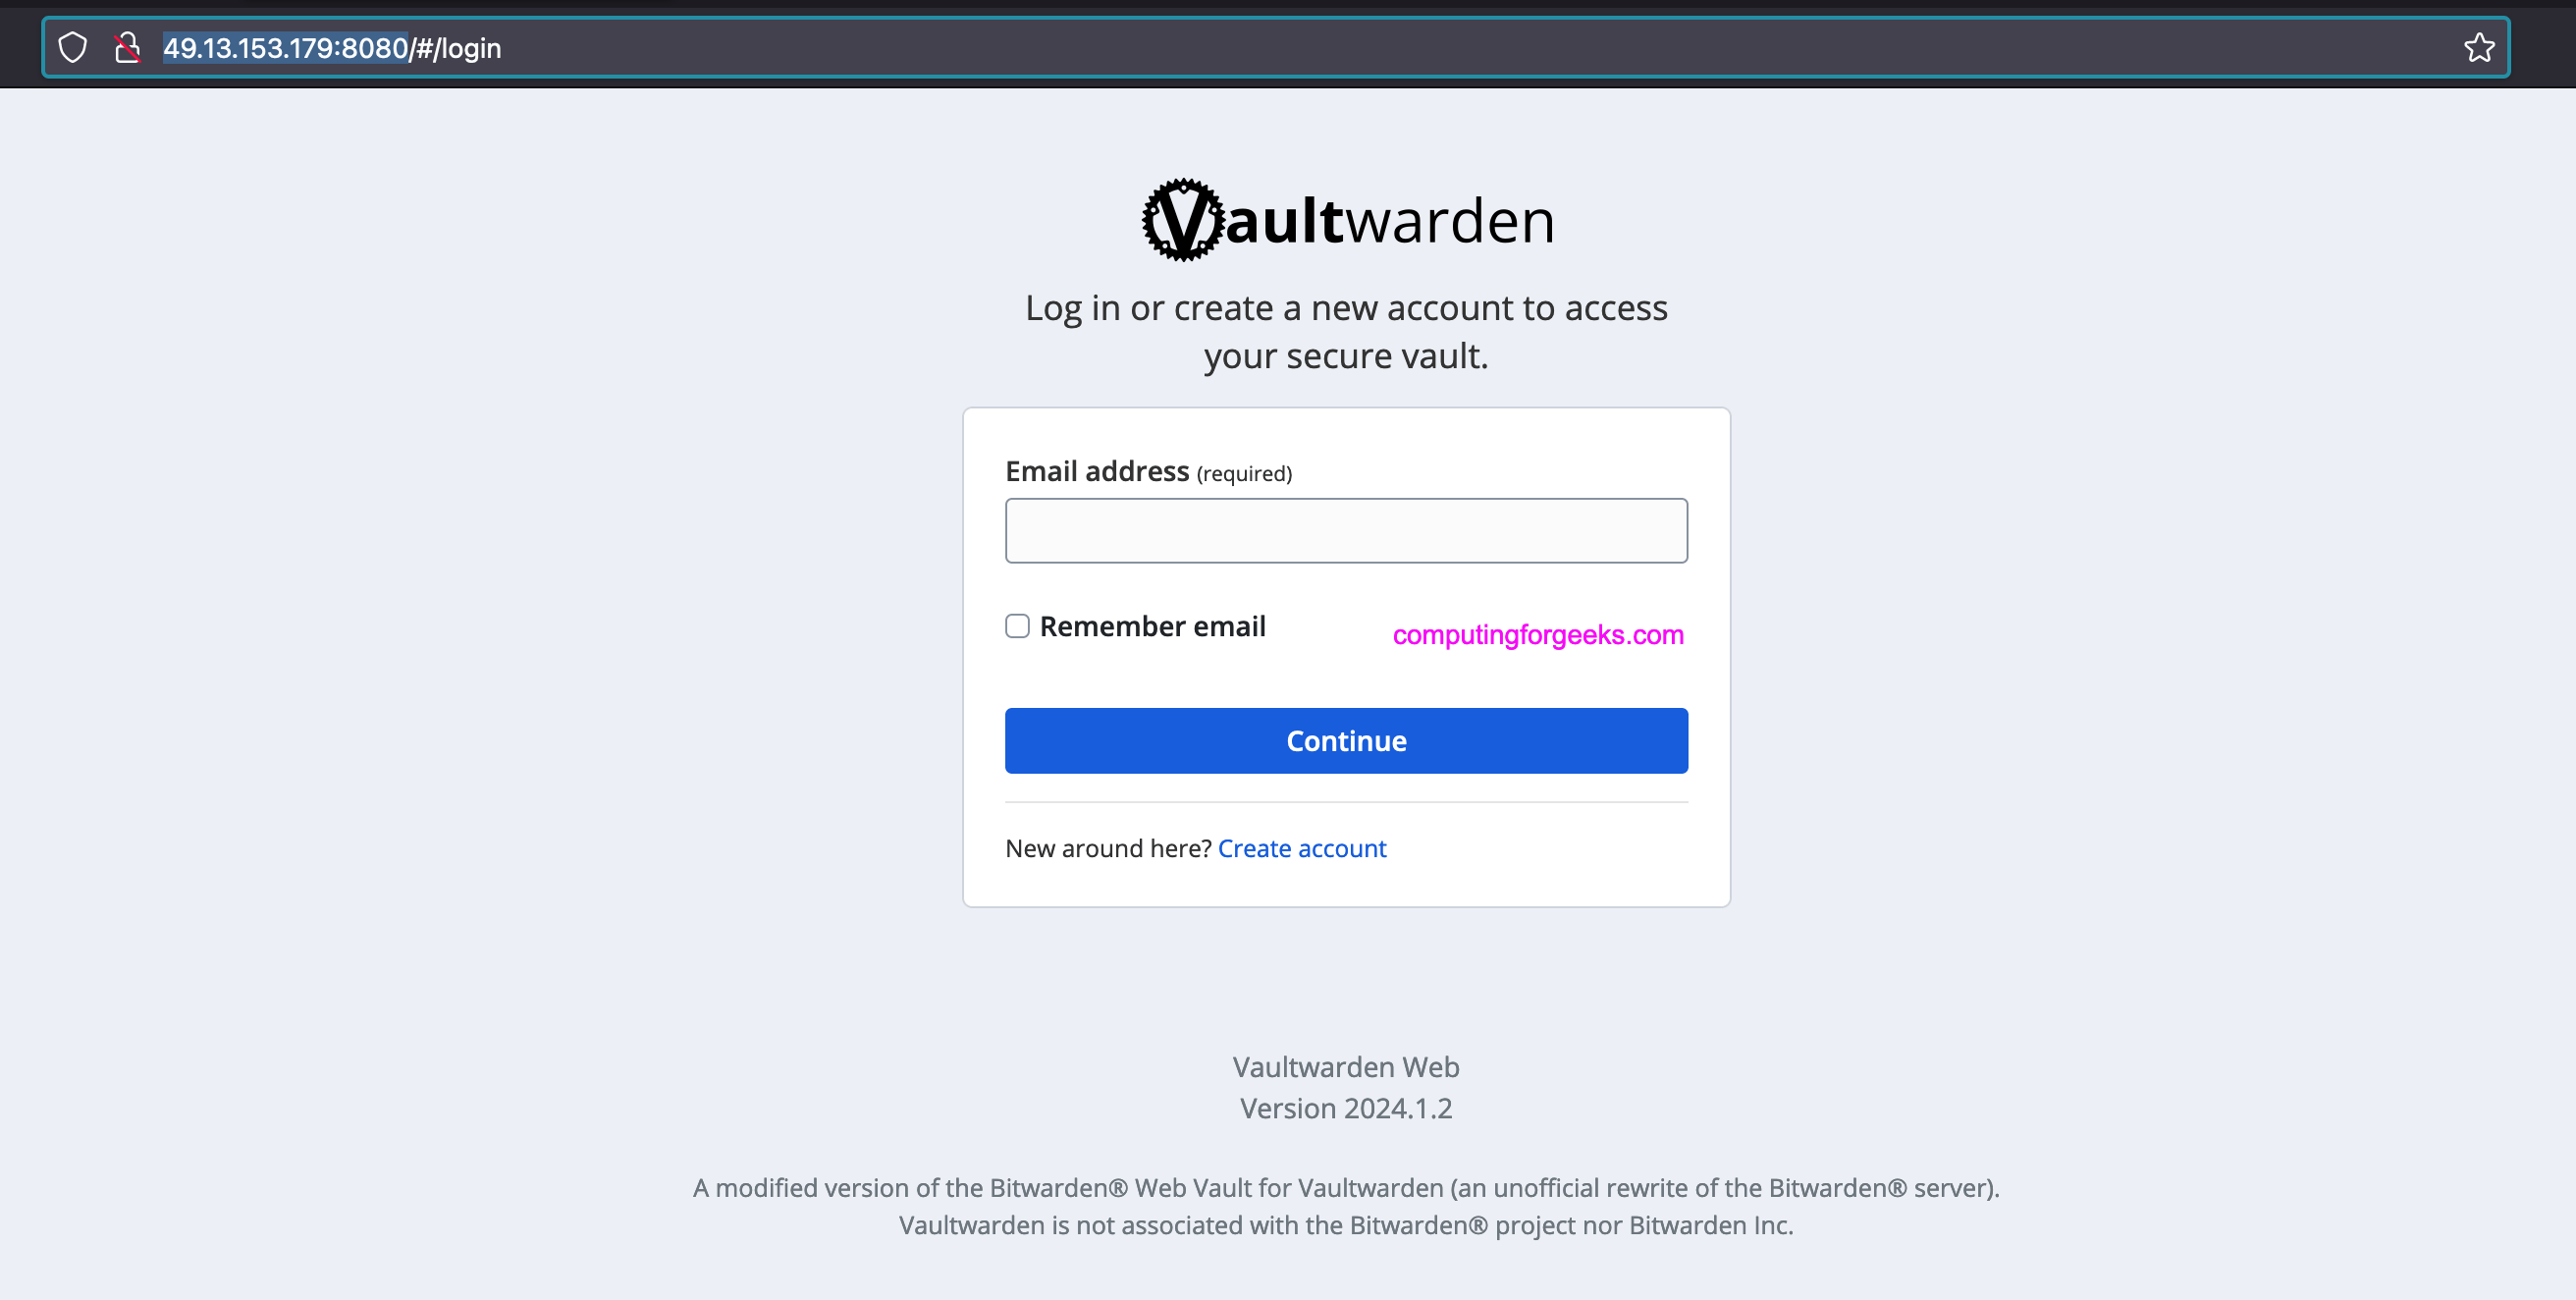
您现在可以通过服务器 IP 和端口 8080 访问 Vaultwarden。但我建议您使用 Nginx 或任何其他 Web 服务器进行代理。
配置 Nginx 反向代理
我们现在可以将 Nginx 配置为 Vaultwarden 的反向代理服务器。 Nginx 可以在容器中运行、安装在操作系统上的软件包或使用 Nginx 代理管理器解决方案。请参阅下面的指南。
- 如何在 Docker 容器中运行 Nginx 代理管理器
- 在 Rocky Linux 8|AlmaLinux 8 上安装 LEMP Stack – 请参阅 Nginx 部分
在基于 Debian 和 RHEL 的 Linux 系统上安装的示例。
### Debian / Ubuntu ###
sudo apt update && sudo apt install nginx
sudo systemctl enable --now nginx

### RHEL 8/9 or Fedora ###
sudo dnf -y install nginx
sudo systemctl enable --now nginx
为 Vaultwarden 创建 Nginx 虚拟主机文件。
sudo vim /etc/nginx/conf.d/vaultwarden.conf编辑配置文件并调整参数以适合您的使用。
# The `upstream` directives ensure that you have a http/1.1 connection
# This enables the keepalive option and better performance
#
# Define the server IP and ports here.
upstream vaultwarden-default {
  zone vaultwarden-default 64k;
  server 127.0.0.1:8080;
  keepalive 2;
}

# Needed to support websocket connections
# See: https://nginx.org/en/docs/http/websocket.html
# Instead of "close" as stated in the above link we send an empty value.
# Else all keepalive connections will not work.
map $http_upgrade $connection_upgrade {
    default upgrade;
    ''      "";
}

# Redirect HTTP to HTTPS
server {
    listen 80;
    listen [::]:80;
    server_name passwords.techwizpro.com;

    client_max_body_size 525M;

    location / {
      proxy_http_version 1.1;
      proxy_set_header Upgrade $http_upgrade;
      proxy_set_header Connection $connection_upgrade;

      proxy_set_header Host $host;
      proxy_set_header X-Real-IP $remote_addr;
      proxy_set_header X-Forwarded-For $proxy_add_x_forwarded_for;
      proxy_set_header X-Forwarded-Proto $scheme;

      proxy_pass http://vaultwarden-default;
    }

    # Optionally add extra authentication besides the ADMIN_TOKEN
    # Remove the comments below `#` and create the htpasswd_file to have it active
    #
    #location /admin {
    #  # See: https://docs.nginx.com/nginx/admin-guide/security-controls/configuring-http-basic-authentication/
    #  auth_basic "Private";
    #  auth_basic_user_file /path/to/htpasswd_file;
    #
    #  proxy_http_version 1.1;
    #  proxy_set_header Upgrade $http_upgrade;
    #  proxy_set_header Connection $connection_upgrade;
    #
    #  proxy_set_header Host $host;
    #  proxy_set_header X-Real-IP $remote_addr;
    #  proxy_set_header X-Forwarded-For $proxy_add_x_forwarded_for;
    #  proxy_set_header X-Forwarded-Proto $scheme;
    #
    #  proxy_pass http://vaultwarden-default;
    #}
}
确认您没有 nginx 语法错误:
$ sudo nginx  -t
nginx: the configuration file /etc/nginx/nginx.conf syntax is ok
nginx: configuration file /etc/nginx/nginx.conf test is successful
1 – 使用 Let's Encrypt SSL
安装用于生成 Let’s Encrypt SSL 证书的 certbot 工具。
# Ubuntu / Debian
sudo apt update
sudo apt install certbot python3-certbot-nginx

# Fedora
sudo dnf install certbot python3-certbot-nginx

# CentOS  / RHEL / Alma / Rocky 8
sudo dnf -y install epel-release
sudo yum -y install certbot python3-certbot-nginx

# CentOS 7
sudo yum -y install epel-release
sudo yum -y install certbot python2-certbot-nginx
为域生成 Let’s Encrypt。
DOMAIN="passwords.techwizpro.com"
export ALERTS_EMAIL="[email "
sudo certbot --nginx --redirect -d $DOMAIN --preferred-challenges http --agree-tos -n -m $ALERTS_EMAIL --keep-until-expiring
让我们加密 SSL 生成过程。
Saving debug log to /var/log/letsencrypt/letsencrypt.log
Account registered.
Requesting a certificate for passwords.techwizpro.com

Successfully received certificate.
Certificate is saved at: /etc/letsencrypt/live/passwords.techwizpro.com/fullchain.pem
Key is saved at:         /etc/letsencrypt/live/passwords.techwizpro.com/privkey.pem
This certificate expires on 2024-05-15.
These files will be updated when the certificate renews.
Certbot has set up a scheduled task to automatically renew this certificate in the background.

Deploying certificate
Successfully deployed certificate for passwords.techwizpro.com to /etc/nginx/conf.d/vaultwarden.conf
Congratulations! You have successfully enabled HTTPS on https://passwords.techwizpro.com

- - - - - - - - - - - - - - - - - - - - - - - - - - - - - - - - - - - - - - - -
If you like Certbot, please consider supporting our work by:
 * Donating to ISRG / Let's Encrypt:   https://letsencrypt.org/donate
 * Donating to EFF:                    https://eff.org/donate-le
- - - - - - - - - - - - - - - - - - - - - - - - - - - - - - - - - - - - - - - -
由于我们指定了 --nginx 选项,certbot 将修改 vaultwarden.conf 文件并注入 SSL 设置。
cat /etc/nginx/conf.d/vaultwarden.conf2 – 使用自定义或自签名证书
请参阅我们关于如何使用 Ansible 生成 OpenSSL 自签名证书的文章
如果使用自定义 SSL 或自签名证书,您可以手动更新文件,如下所示。
# The `upstream` directives ensure that you have a http/1.1 connection
# This enables the keepalive option and better performance
#
# Define the server IP and ports here.
upstream vaultwarden-default {
  zone vaultwarden-default 64k;
  server 127.0.0.1:8080;
  keepalive 2;
}

# Needed to support websocket connections
# See: https://nginx.org/en/docs/http/websocket.html
# Instead of "close" as stated in the above link we send an empty value.
# Else all keepalive connections will not work.
map $http_upgrade $connection_upgrade {
    default upgrade;
    ''      "";
}

# Redirect HTTP to HTTPS
server {
    listen 80;
    listen [::]:80;
    server_name passwords.techwizpro.com;

    if ($host = passwords.techwizpro.com) {
        return 301 https://$host$request_uri;
    }
    return 404;
}

server {
    # For older versions of nginx appened http2 to the listen line after ssl and remove `http2 on`
    listen 443 ssl;
    listen [::]:443 ssl;
    http2 on;
    server_name passwords.techwizpro.com;

    # Specify SSL Config when needed - adjust for custom paths
    ssl_certificate /path/to/certificate/letsencrypt/live/passwords.techwizpro.com/fullchain.pem;
    ssl_certificate_key /path/to/certificate/letsencrypt/live/passwords.techwizpro.com/privkey.pem;
    ssl_trusted_certificate /path/to/certificate/letsencrypt/live/passwords.techwizpro.com/fullchain.pem;

    client_max_body_size 525M;

    location / {
      proxy_http_version 1.1;
      proxy_set_header Upgrade $http_upgrade;
      proxy_set_header Connection $connection_upgrade;

      proxy_set_header Host $host;
      proxy_set_header X-Real-IP $remote_addr;
      proxy_set_header X-Forwarded-For $proxy_add_x_forwarded_for;
      proxy_set_header X-Forwarded-Proto $scheme;

      proxy_pass http://vaultwarden-default;
    }

    # Optionally add extra authentication besides the ADMIN_TOKEN
    # Remove the comments below `#` and create the htpasswd_file to have it active
    #
    #location /admin {
    #  # See: https://docs.nginx.com/nginx/admin-guide/security-controls/configuring-http-basic-authentication/
    #  auth_basic "Private";
    #  auth_basic_user_file /path/to/htpasswd_file;
    #
    #  proxy_http_version 1.1;
    #  proxy_set_header Upgrade $http_upgrade;
    #  proxy_set_header Connection $connection_upgrade;
    #
    #  proxy_set_header Host $host;
    #  proxy_set_header X-Real-IP $remote_addr;
    #  proxy_set_header X-Forwarded-For $proxy_add_x_forwarded_for;
    #  proxy_set_header X-Forwarded-Proto $scheme;
    #
    #  proxy_pass http://vaultwarden-default;
    #}
}
重新启动 Nginx Web 服务器以使更改加载到内存中。
sudo systemctl restart nginx通过 https 访问 Vaultwarden
最后一步是使用 https 和配置的域名访问 Vaultwarden。
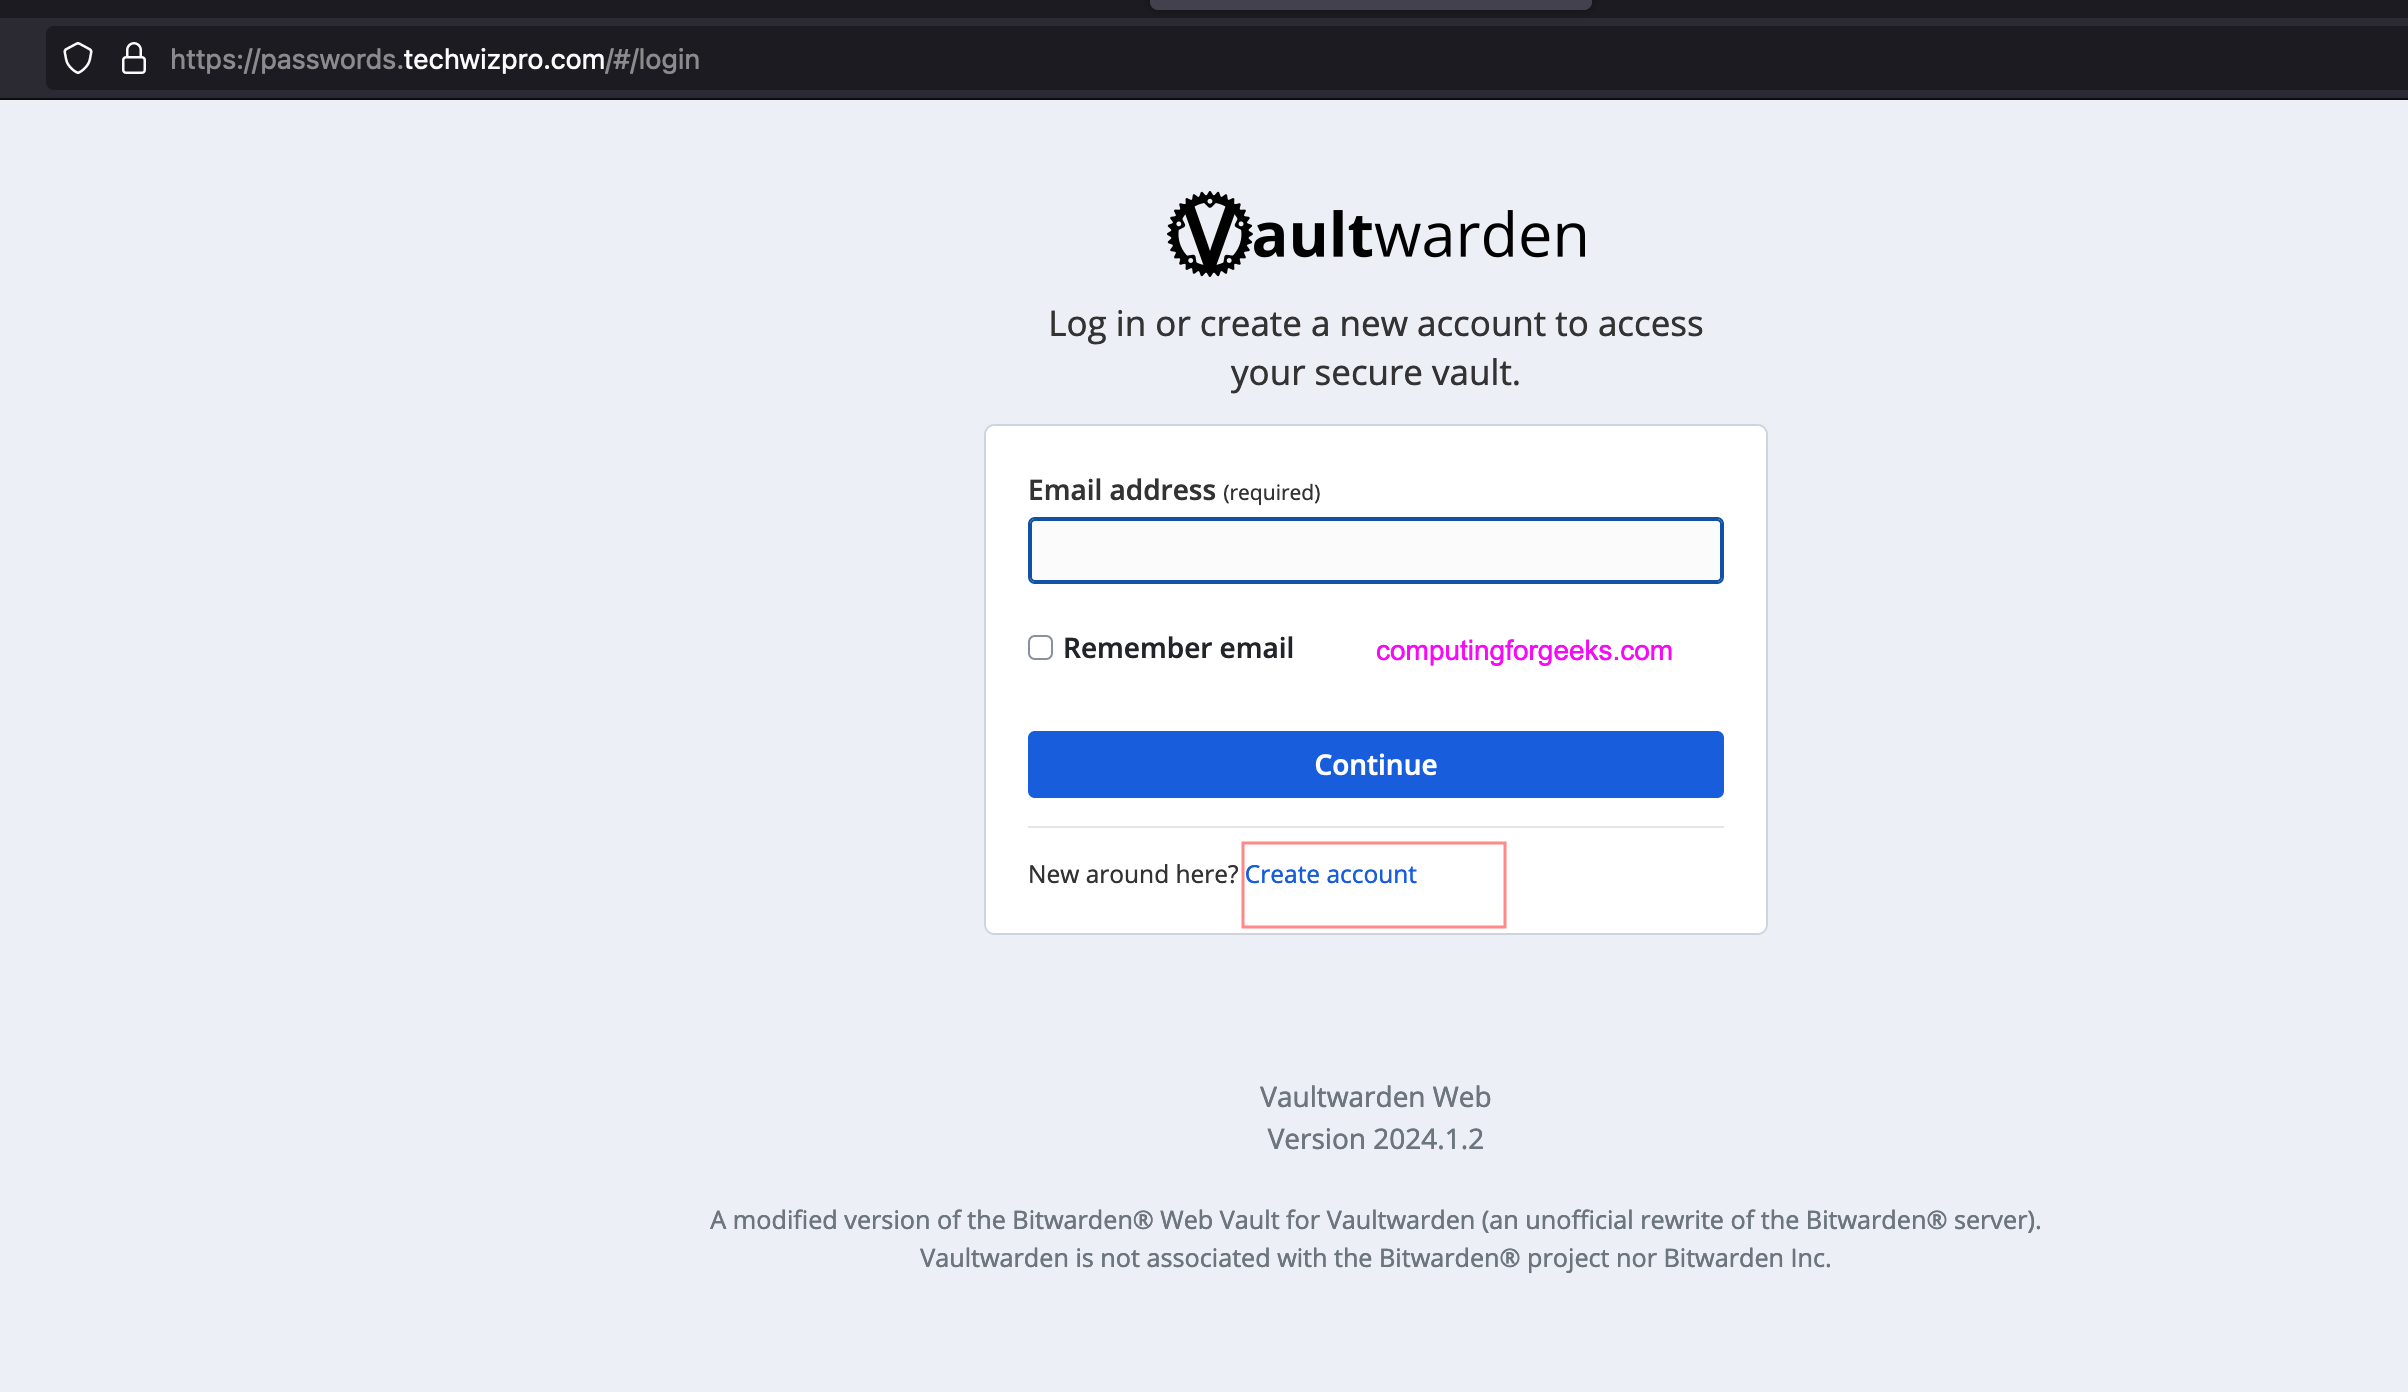
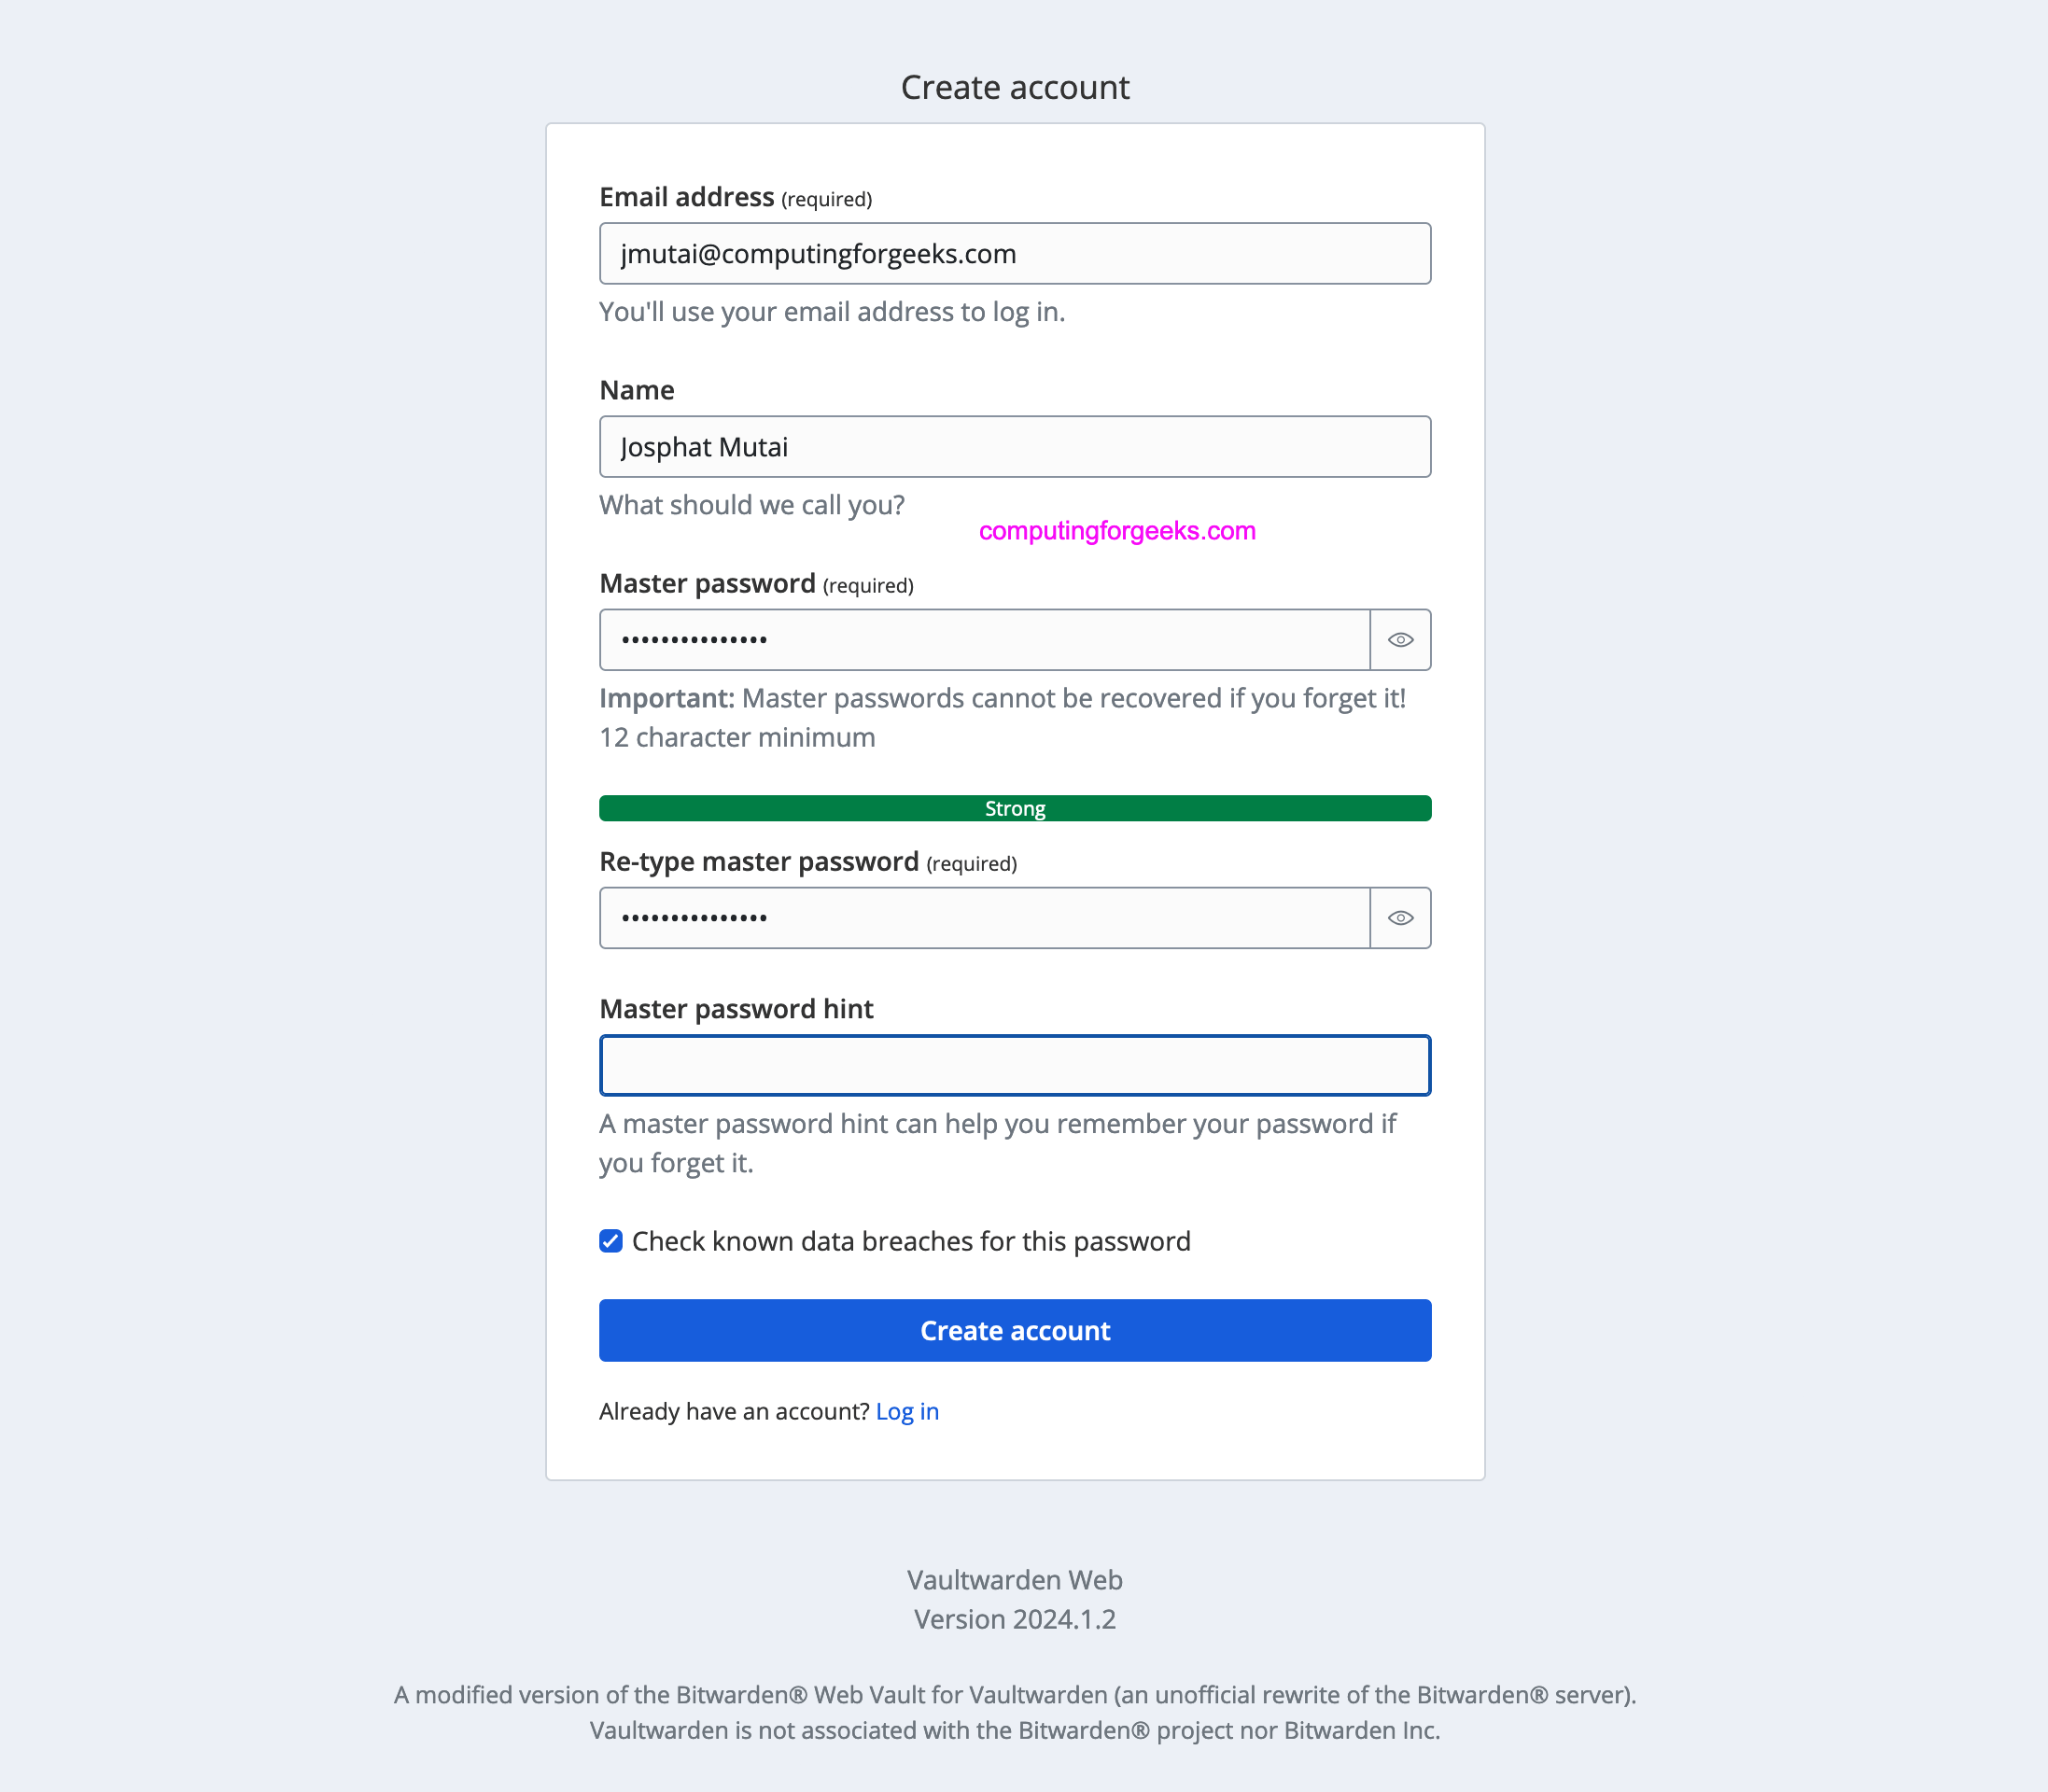
输入所有必需的信息来创建第一个帐户。
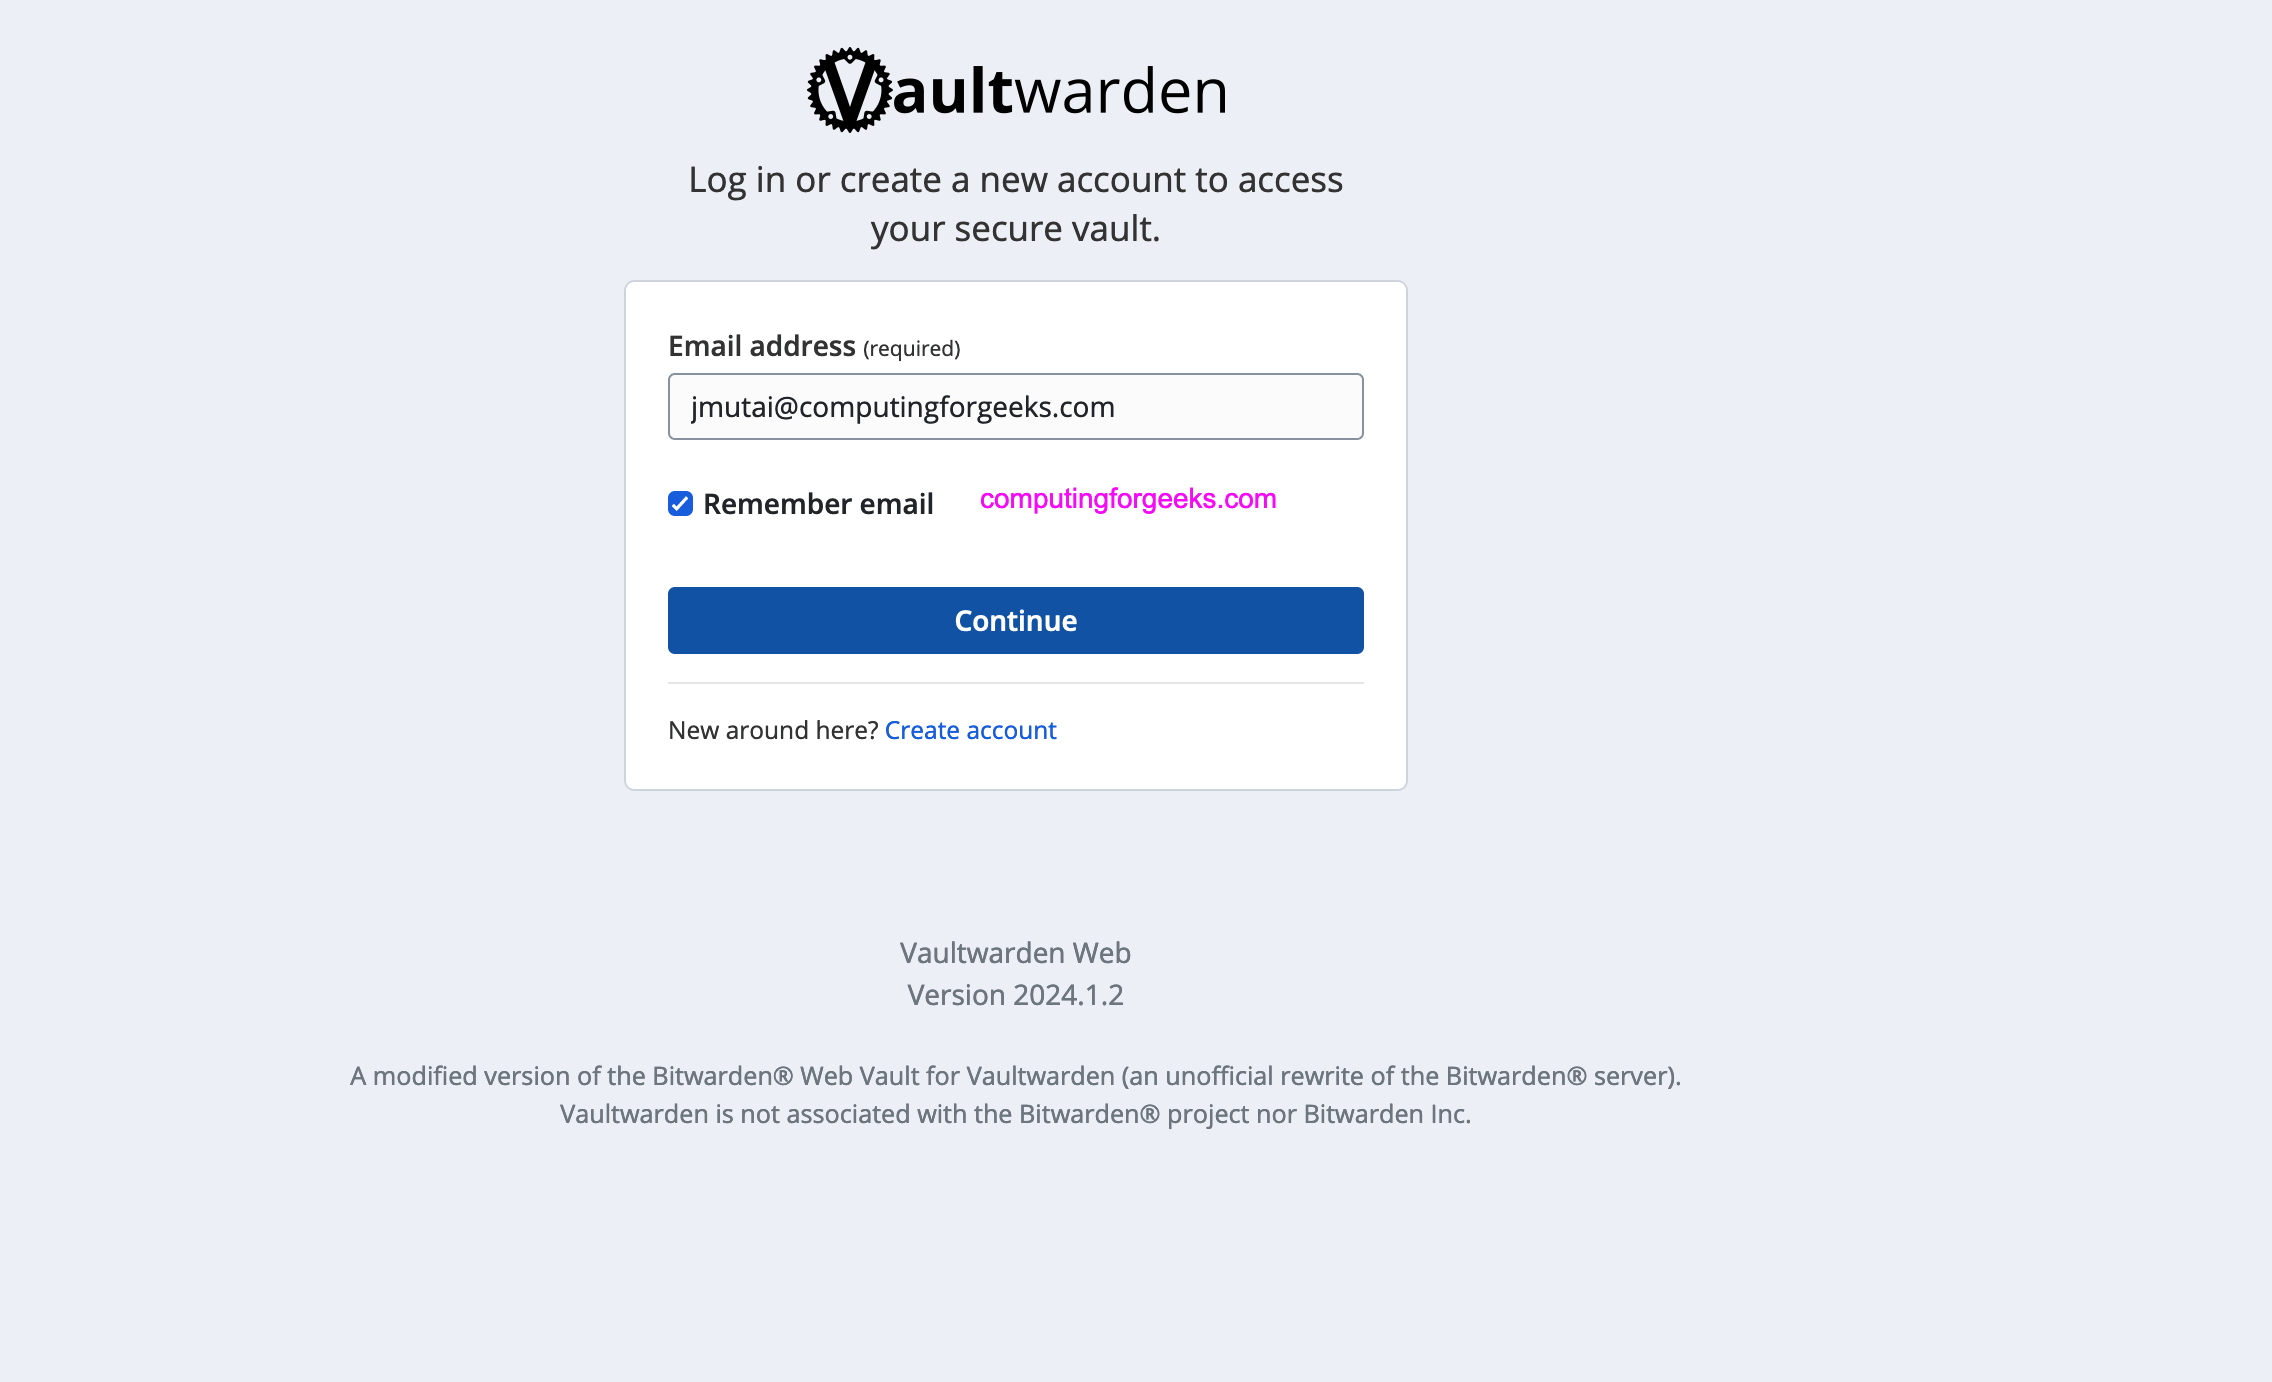
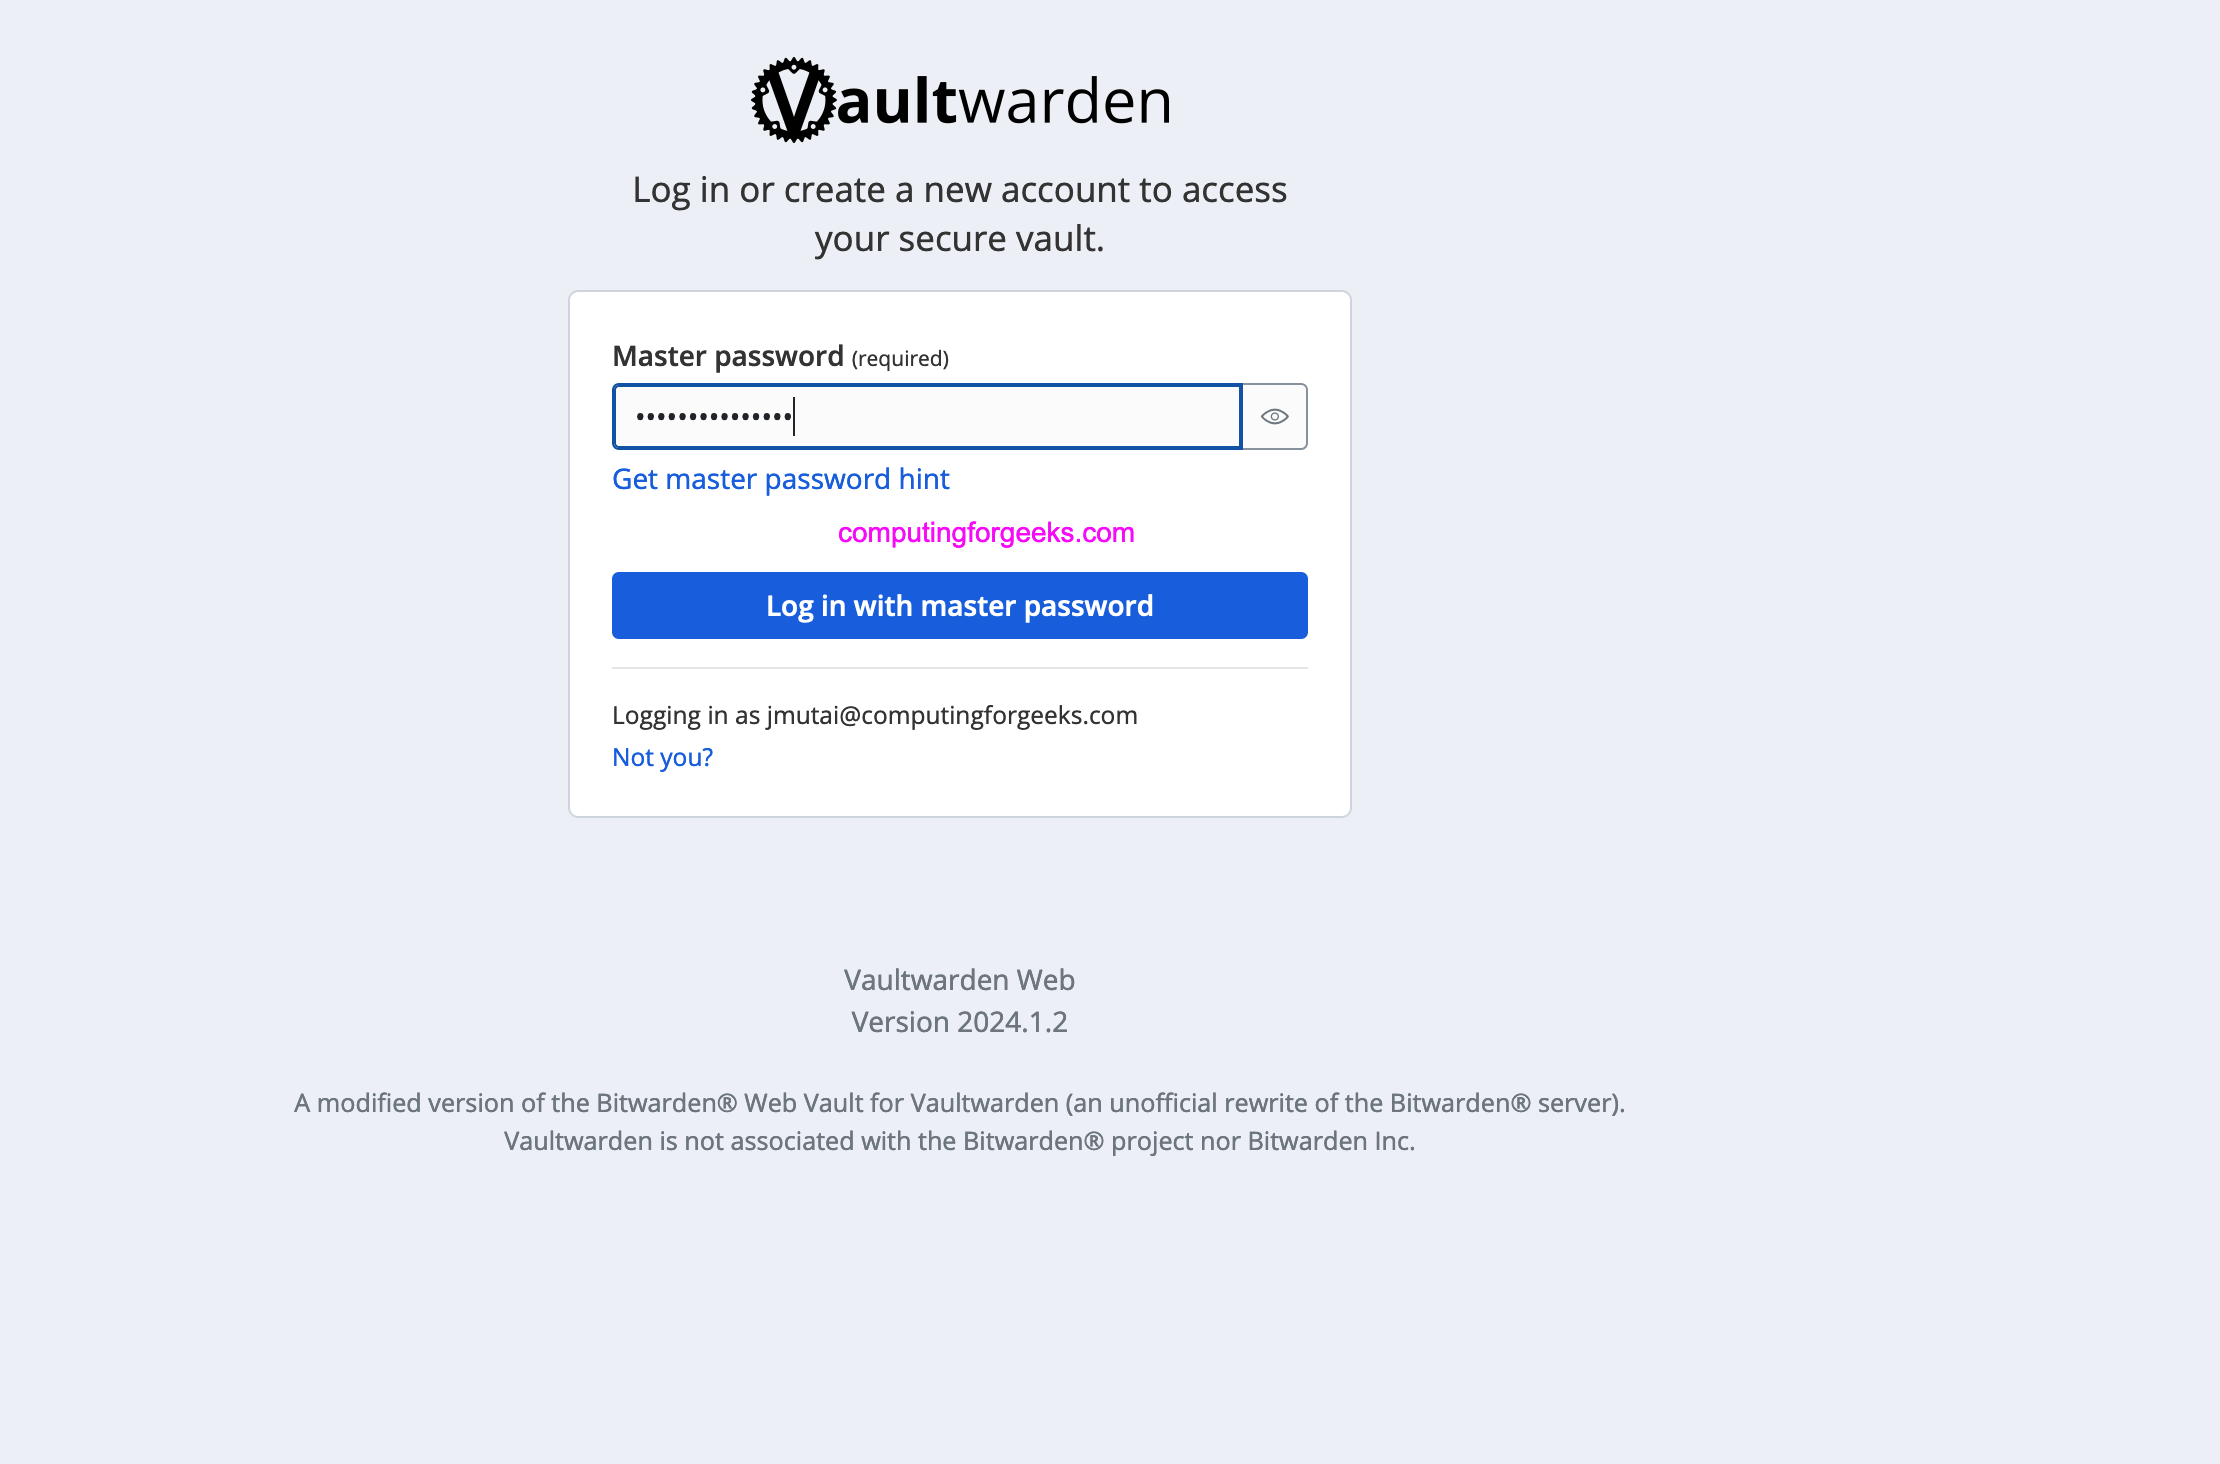
创建帐户后,提供电子邮件地址以登录 Vaultwarden 后端。
提供之前配置的主密码。
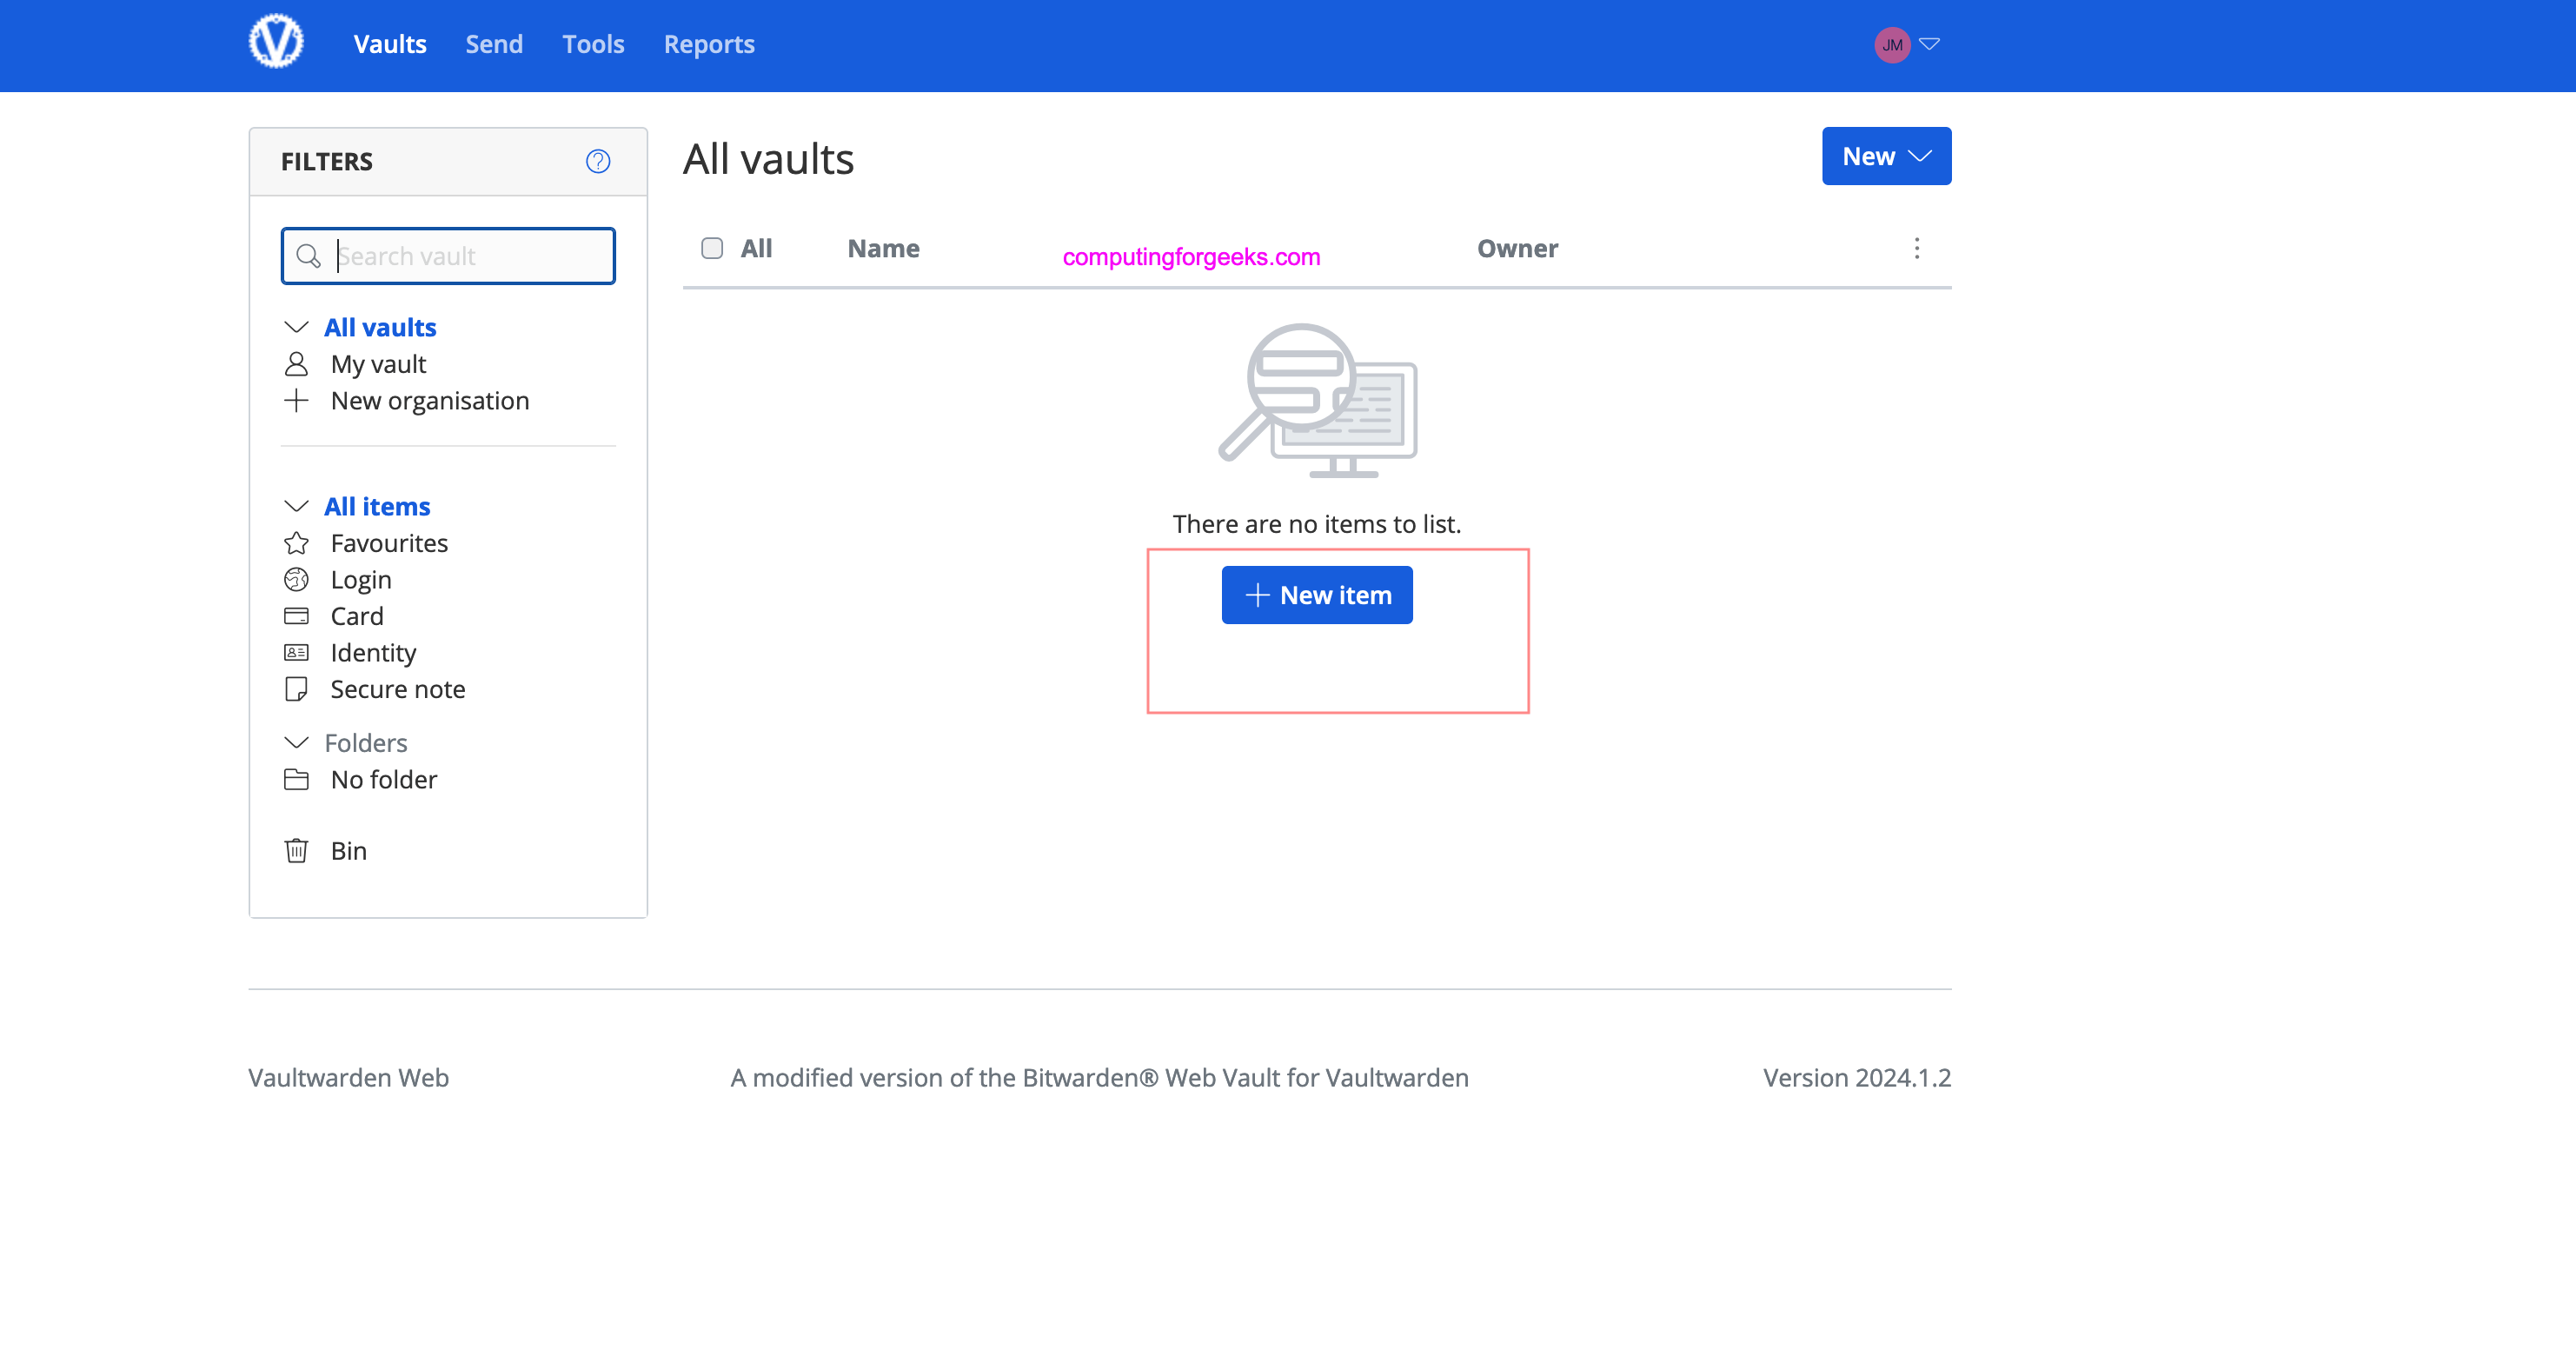
这是 Vaultwarden 仪表板的屏幕截图。您可以在此处创建组织并将登录信息存储到您的网站和其他在线服务。
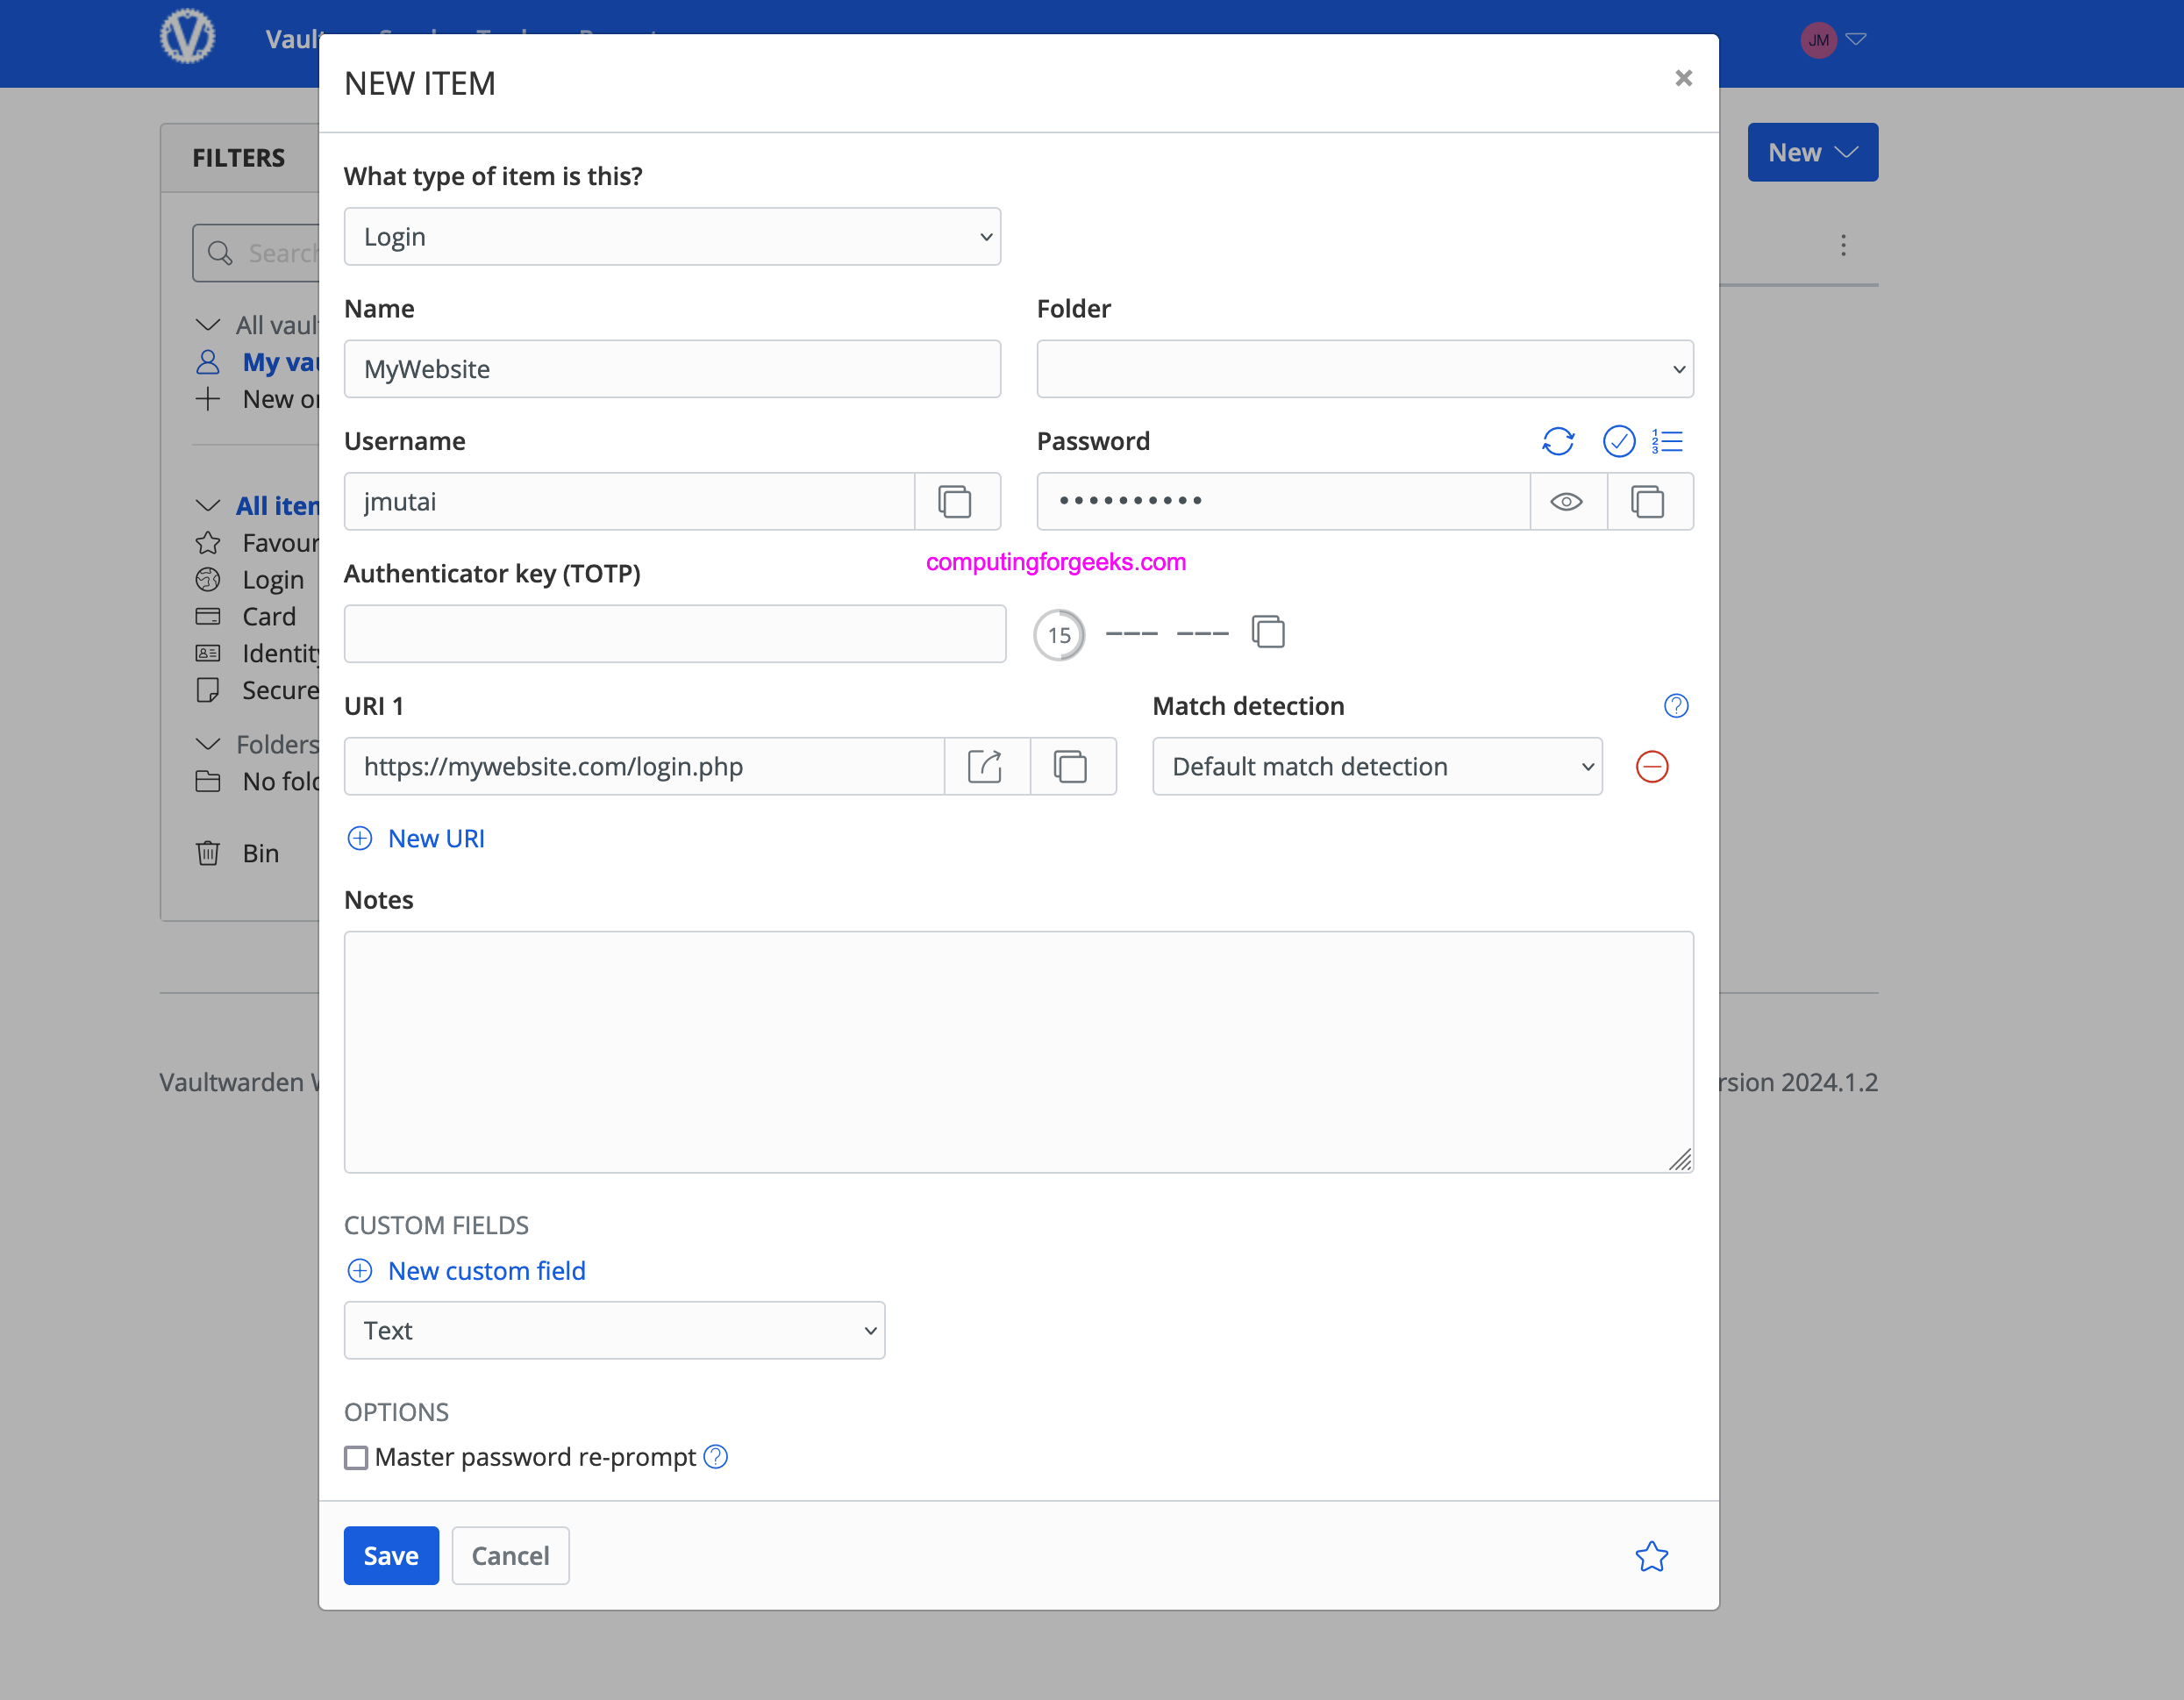
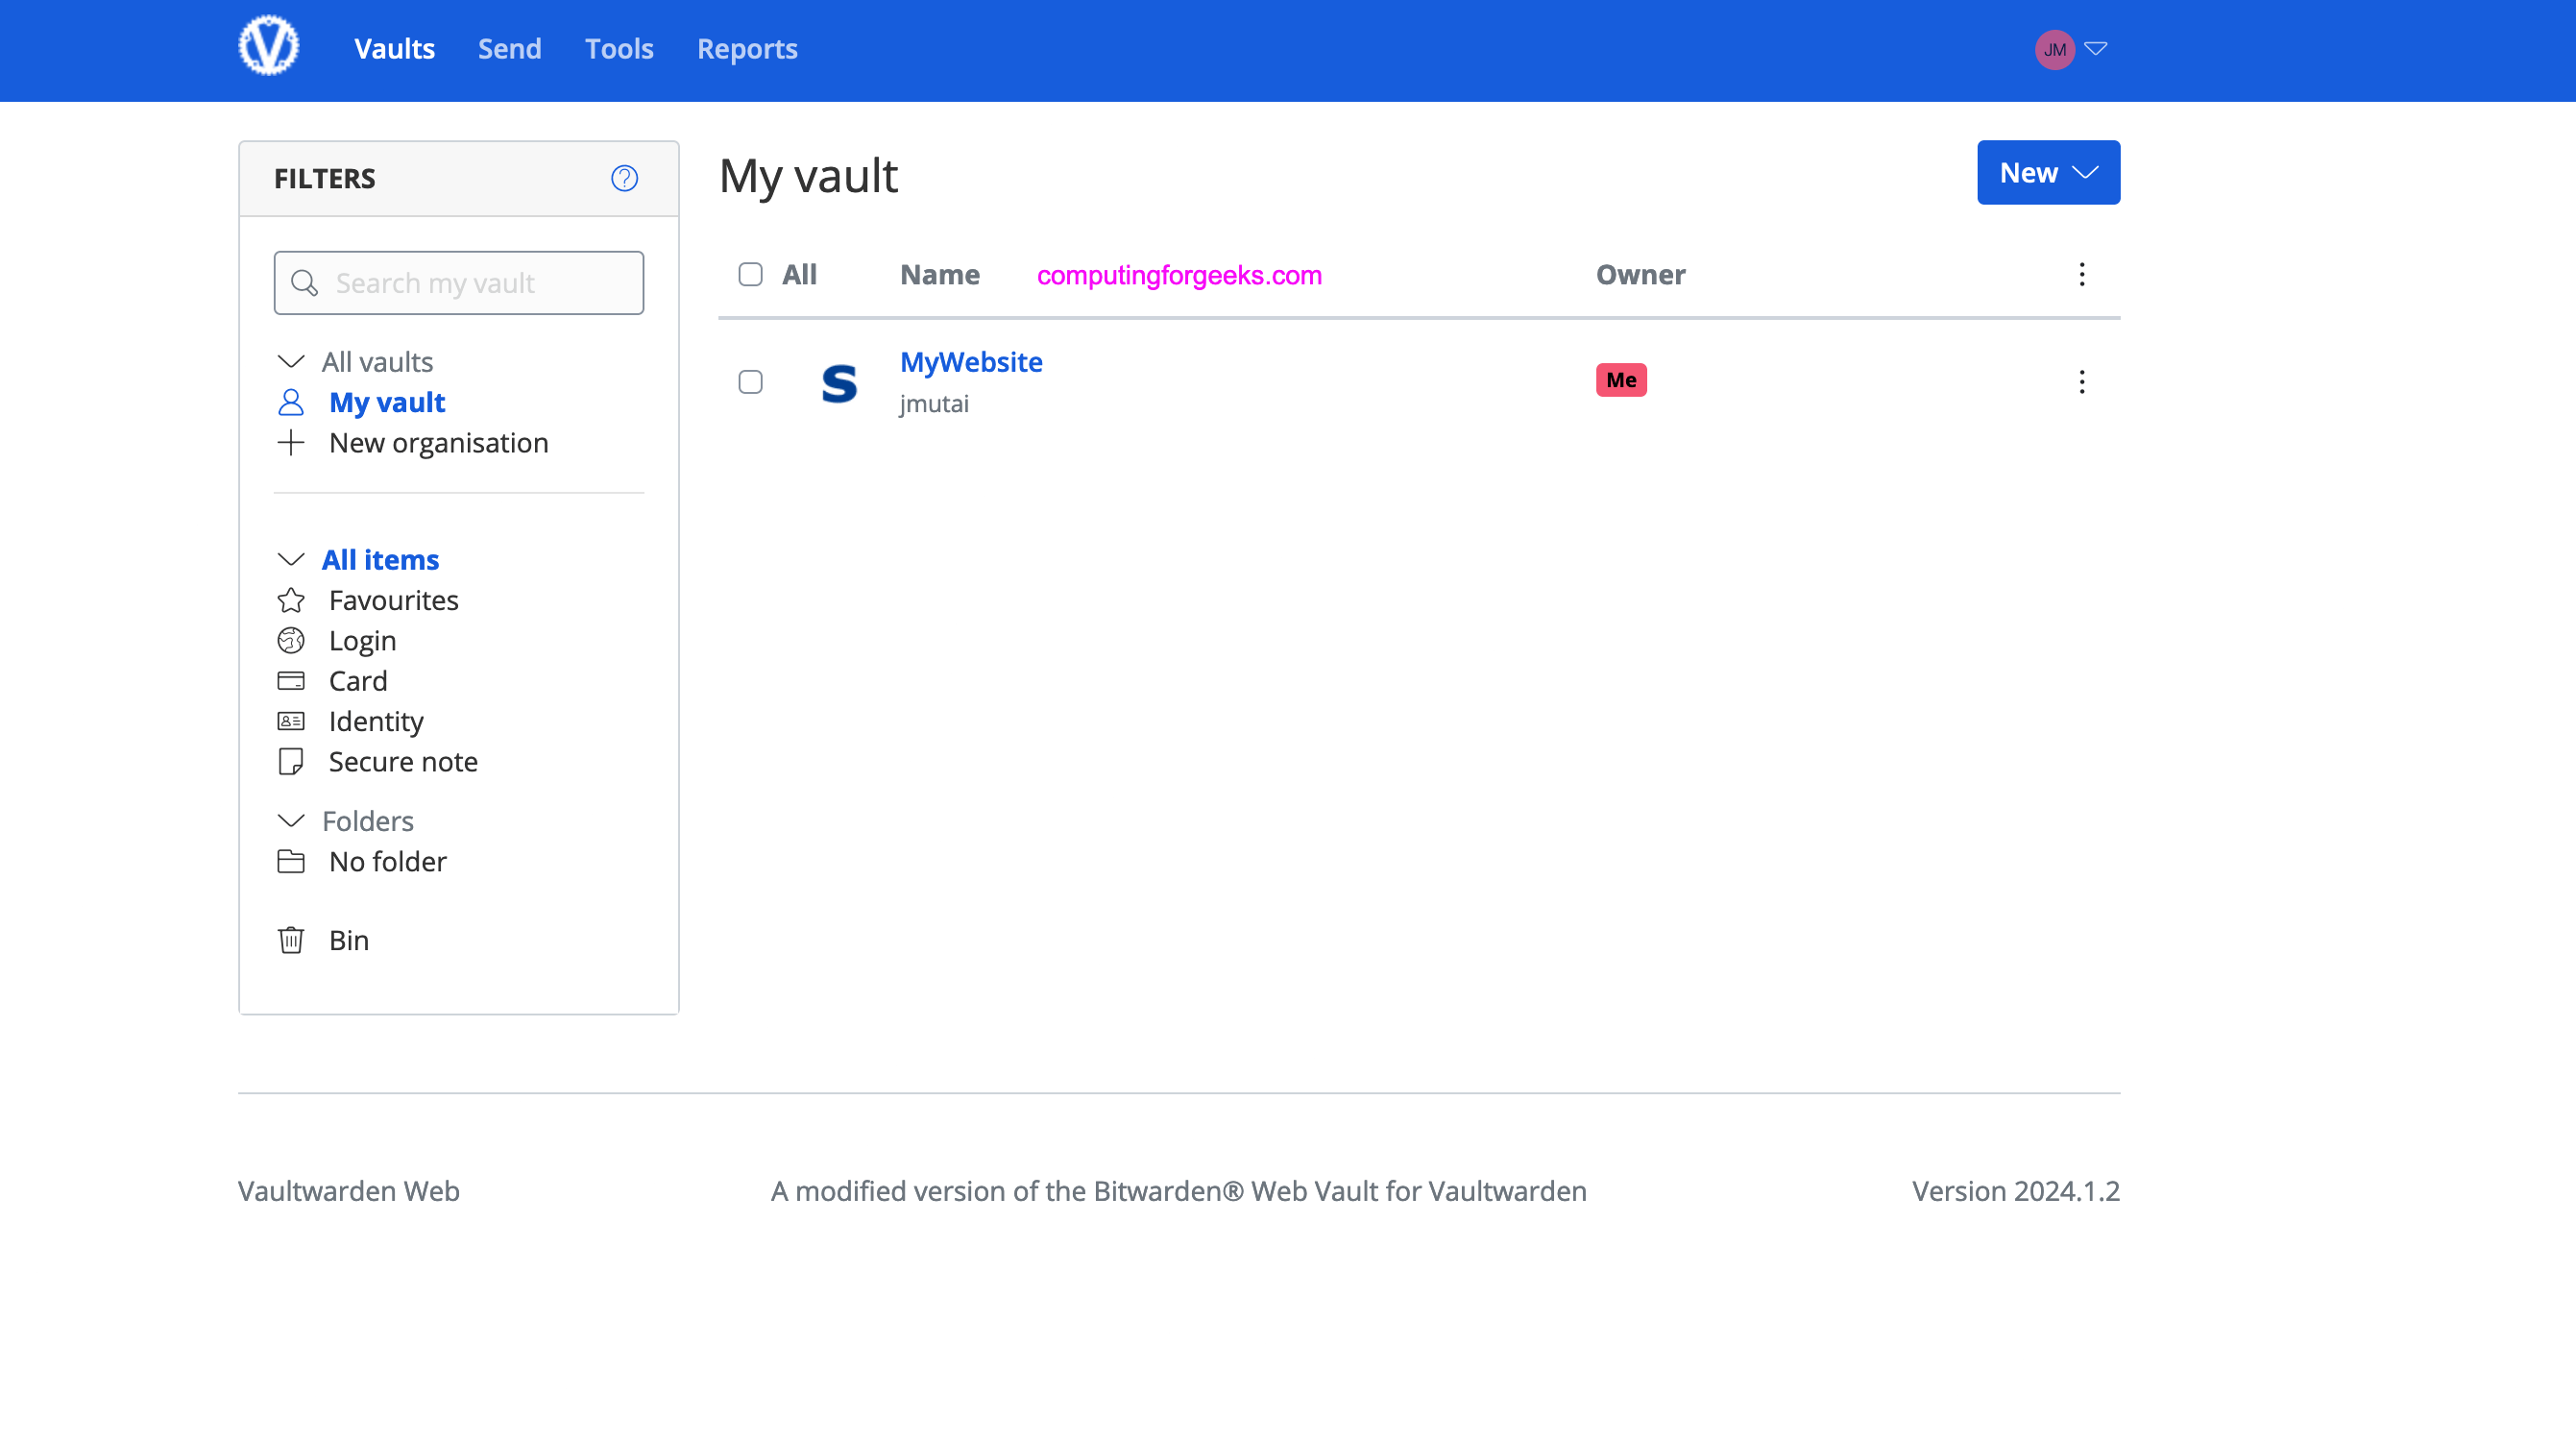
这是有关如何创建登录项的示例。
配置 Bitwarden 客户端
Vaultwarden 与官方 Bitwarden 客户端兼容。然后适当下载并配置。
参考:
- 避难所看守维基
- 金库守卫论坛


